The process of raising and lowering the tower
is a big puzzle for me. Today I was able to capture some of the action
associated with extracting a tower segment and then transporting it to
a barge. The segment to be removed is contained within the climbing unit -
which can be raised and lowered by an hydraulic jack.
Once the top tower segment is unpinned from the turret (above)
and the adjacent segment (below), it is attached to a hanger that rides along
a monorail. Once attachment is complete, the tower segment is pushed along
the monorail (see the video) until it has completely exited the climbing unit.
(Note in the below animation - that the space surrounded by the climbing unit
is empty while the tower segment moves along the monorail. Note that when
the extracted segment is being attached to the crane hoist, the climbing
unit now surrounds the next lower segment. I have to figure out a way
to show the climbing down process.)
Then the climbing unit is lowered until the turret is riding on top of the
next tower segment. At this point, the removed tower segment is attached
to the crane hoist, the hanger is unpinned from the tower segment and then
the segment is moved by the crane operator away from the tower.
Click for a 3.5 Mb mpeg
animation of the extraction process.
The climbing unit - Watch the decreasing gap between the top of the
climbing unit and the next tower segment as the climbing unit descends

See the top of the lower segment is about even with the lower "K" on the
extracted tower segment.

Now the top of the lower segment is about 6 feet below the turrett.

And finally, the climing unit has finished this cycle.

The jack assembly that does all the work. This is a real engineering
marvel. The jack assembly has 4 essential parts as I understand what is
happening. There is the hydraulic cylinder, an upper and lower foot and
a pivot that allows the hydraulic cylinder and lower foot to swing out.
To lower (or raise) the climbing unit, the lower foot is positioned on one
of the horizontal members of a tower segment. Hydraulic fluid is removed
from the cylinder, thus lowering the climbing unit. This continues until
the upper foot rests behind the lower foot. A little more lowering then
frees the lower foot which can be pushed away from the tower and then
repositioned on the next lower horizontal member of a tower segment. Each
descending episode is about 5 feet - and 4 episodes = 20 feet, the height
of a tower segment. Note the alignment of the upper foot with the horizontal
brace on the inner tower segment as the next lowering-cycle starts.

Above, the upper foot is even with the horizontal brace of the
sideways K. After a little descending action (below),
the upper foot is about 6 inches below the horizontal brace of the
sideways K.

A closer view of the movement of the upper foot. (I know, the colors are
slighly off - the result of thinking I switched the white balance to automatic
but in fact, managed to set it for indoor incandescent lamps. So I tried
to reverse the color balance - just need a bit more practice. If you would
like to try your hand
Click to download the original.)
Here you can see the lower foot resting on the inner horizontal brace

And here, after a little more descending action,
the upper foot is almost in position to transfer support from the
hydraulic jack foot (lower) to the upper foot.

Here you can see the lower foot as it is being pushed off the
internal horizontal brace - ready to descend another 5 feet.
Click the image for the full resolution. You can see that the lower foot
has dropped a few inches below the horizontal brace on the inner tower segment.

Before and after removal of 3 sections (color balance problems on the right)


March 22, 2005:
The East Tower Crane (before growing down).

April 6, 2005:
The East Tower Crane, growing down. Here, a
K section is hanging from the jib and waiting to be lowered to a barge
waiting on the river below

April 6, 2005:The East Tower Crane is growing down
If you look carefully (click on the image) you can see 1 tower segment resting
on the main span deck and 2 tower segments resting on a barge at the foot of
the tower. In addition, the upper strut assembly, connecting the tower
crane with the concrete pylon, has been removed.

April 8, 2005:Bridging the Channel Gap
The East Tower Crane is growing down. There were 4 horizontal supports
connecting the tower crane with the pylon (look at April 2 photos). Two
days ago (April 6) there were only 3 horizontal supports. Now there are only
two.

April 15, 2005
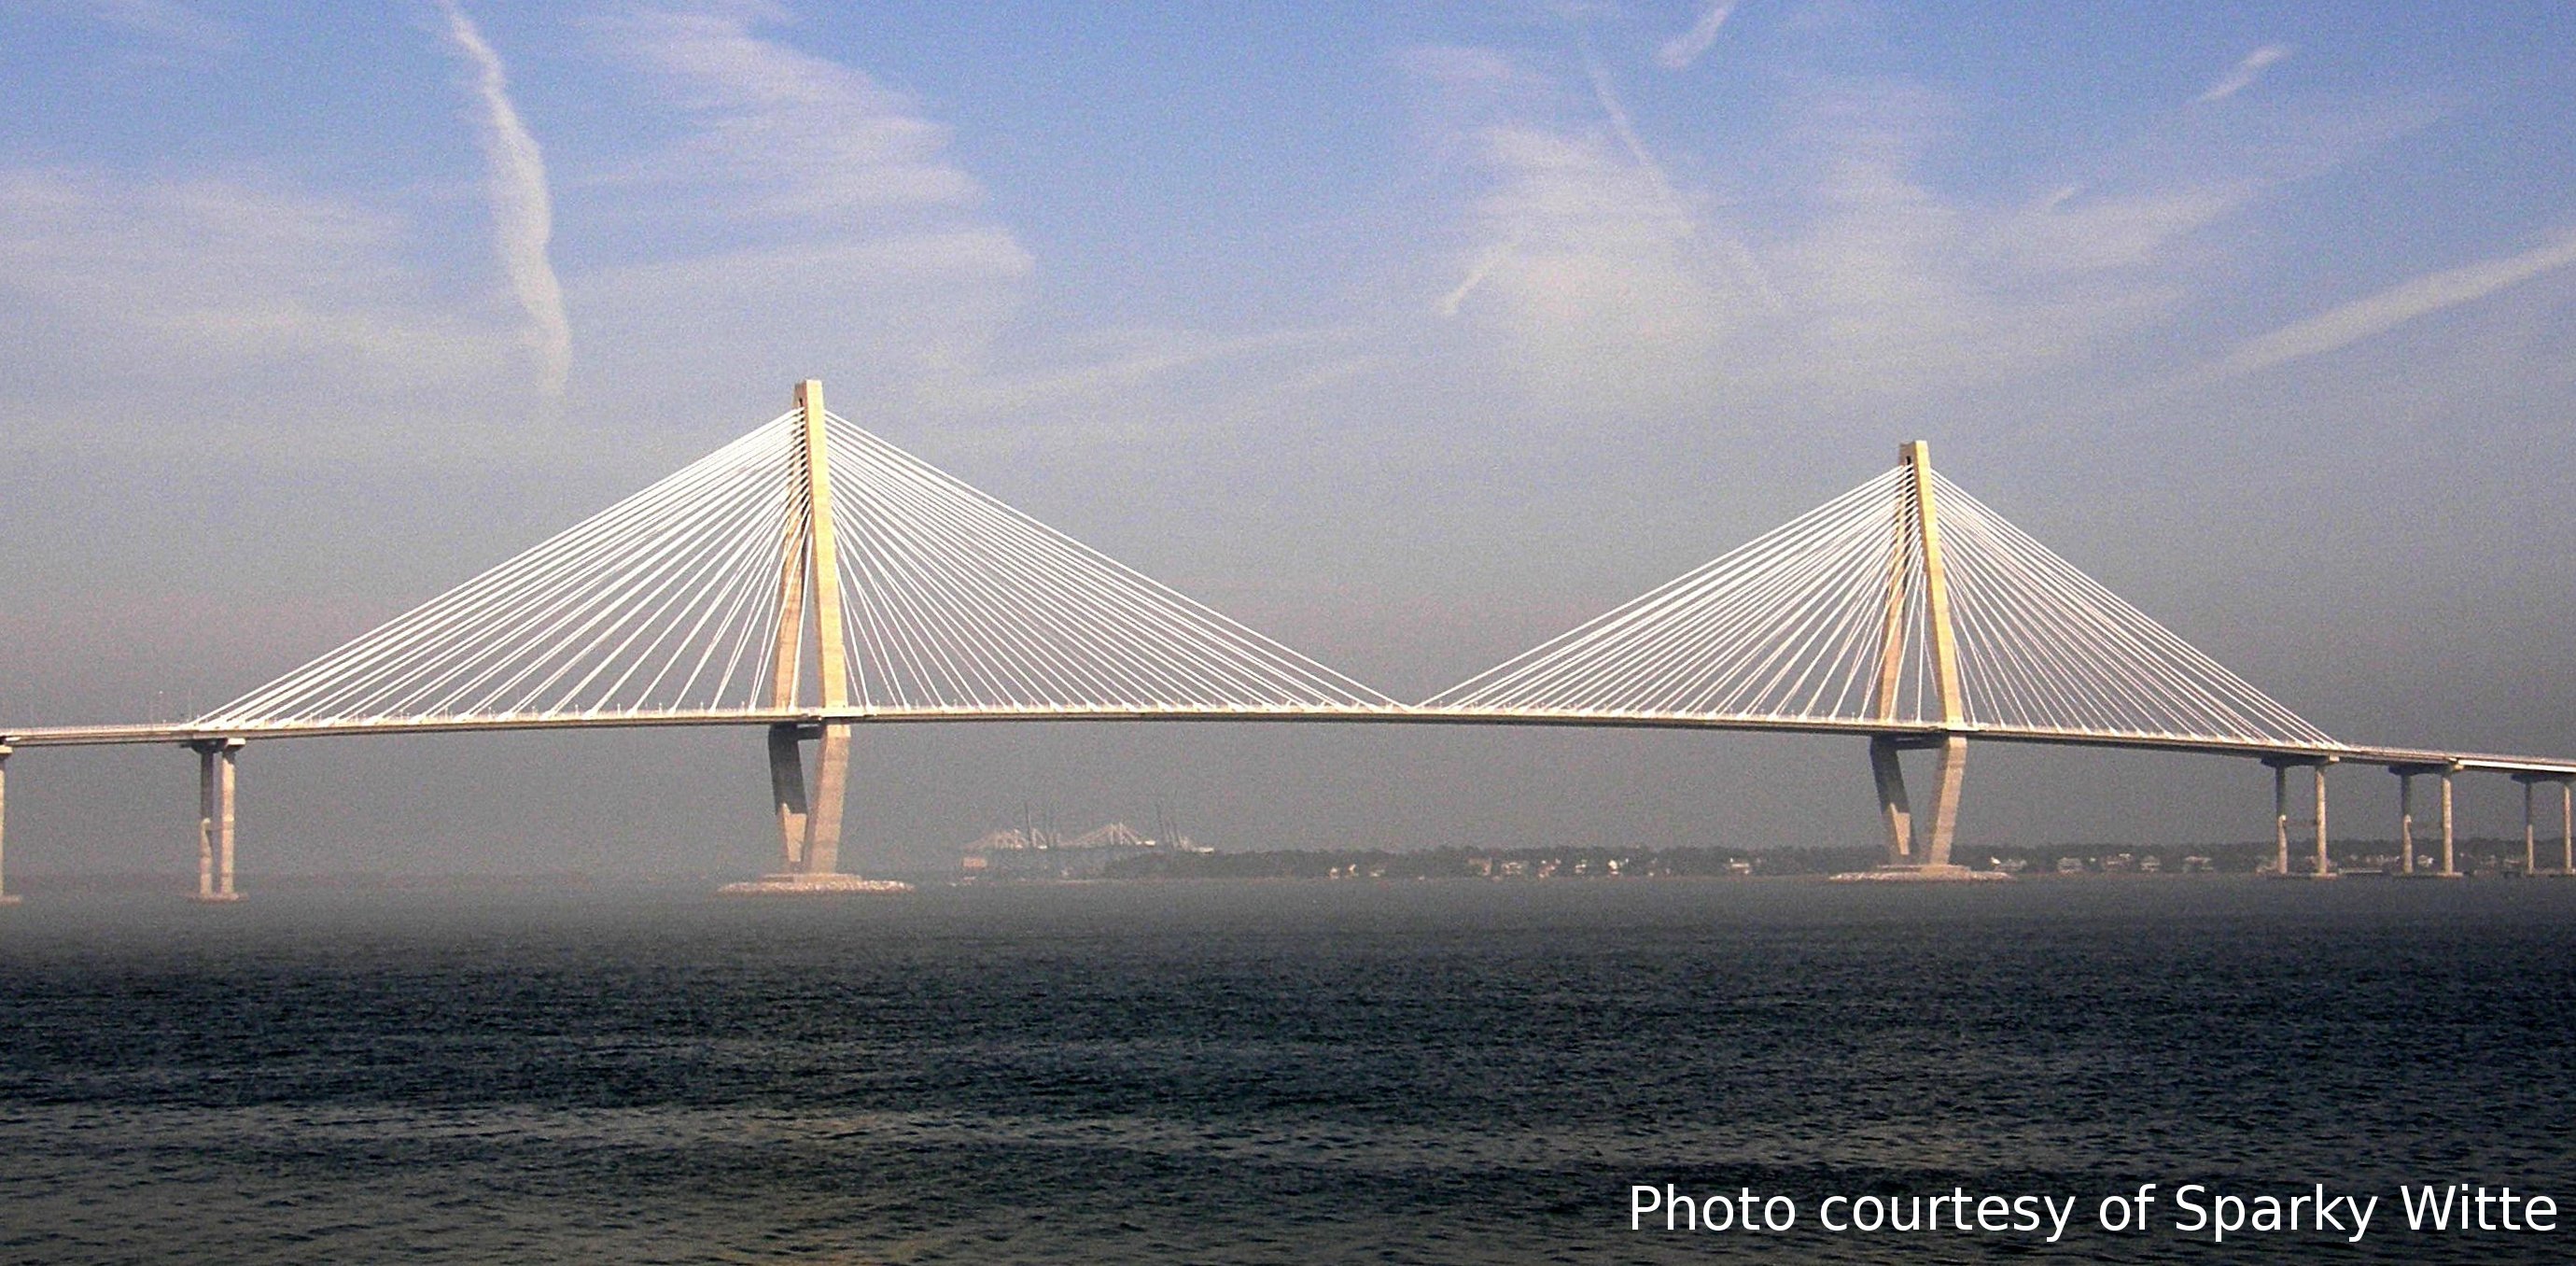
No west crane, no east crane, no barge, only
bridge(s)

Main Span

|
West Pylon
|
East Pylon
|

|

|
April 15, 2005:Bridging the Channel Gap
Gone is the east
crane, the barge and everything


