Today was a special day with Freyssinet and their magic for design,
materials, installation and testing of stay cables:
pulling the last strands of the last cable - Fini. For the super curious,
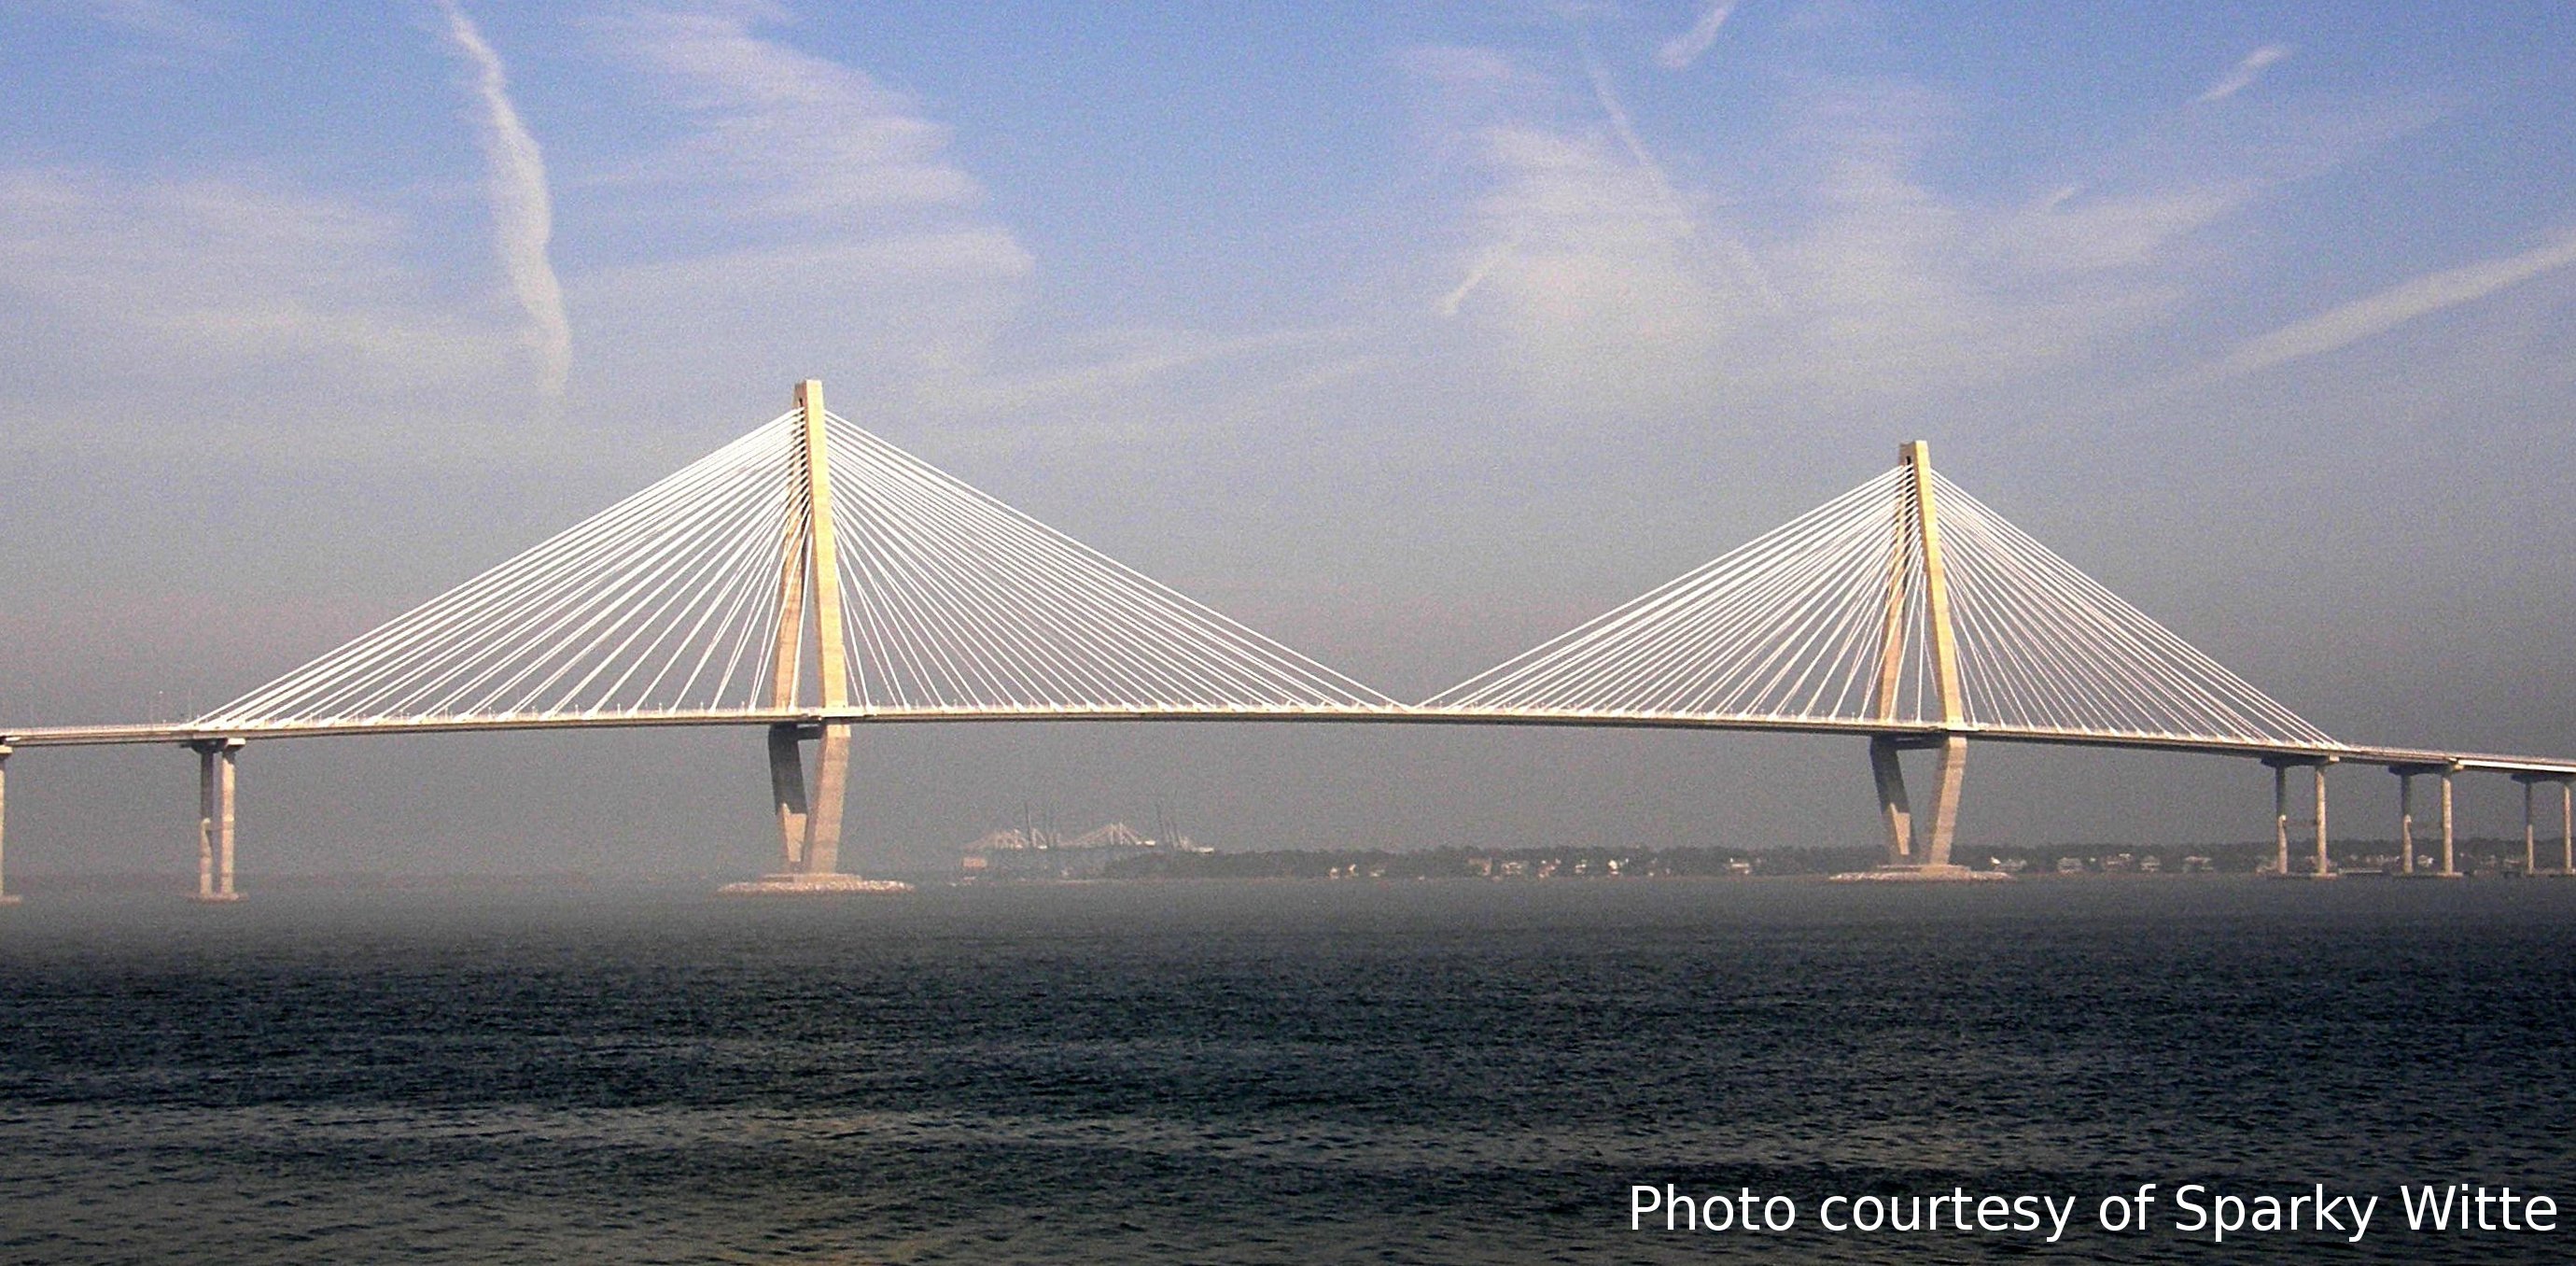
how many cable stay strands are there in the 64 pipes supporting
the New Cooper River Bridge? 6772 - and Oliver and his team counted every one
of them as well as the 13544 wedges - one at a time as you will see below.
To produce such a result requires excellence.
What is the first law of excellence?
Anything is possible with a great team! High Steel has a great team and PBC
has a great team. Here I present the great team of Freyssinet: Charleston

Looking west from the east deck (note the last floor girder, waiting
for the final center edge girders to be installed ) as we walked

to the east deck cable assembly area

It all starts with the cable drums, from which each strand is unwound.
Here is the team at work: Feeding the last two strands up the pipe


Outside the pylon, Cyril passes the cables to Cliff on the inside

Inside the pylon, Cliff works more magic and pulls the end of the cable
through the anchor plate. (The hydraulic jack is seen under the cable array).

Meanwhile, back on the deck, Bruno frees the last cable pair from the
cable spools

Which makes two last ends

Which must be trimmed before back pulling into the anchor stay housing or
pulling up the stay pipe


Which requires Bruno's magic touch, feeding the last leader up the pipe

Which requires another of Bruno's magic touch to pull
the last leader with the attached cable down the pipe

Then pulling the cables through the anchor plate and placing the last wedge
on the last cable

Then seating the last wedge

And here is a perfect result; every strand in its place - can you identify
the master strand?

The static images capture only part of the story. Here are a few video
segments (16 Mb, quicktime) that bring motion to feeding the strands up the
pipe, trimming the ends of the strands and back-pulling the strands through
the anchor plate.
Meanwhile, the Cyril and Philiu are cleaning up their small nests

and finally the stay-cable ends are injected (Meanwhile, back on the west pylon,
the week before)
March 22, 2005: West Pylon
Final injection of cable terminations
It all starts at the top - heating 55 gallon drums of wax to about 120
C and requiring 24 hours of heating.
Its a rather big job requiring 32 drums per tower (West and East) or
1760 gallons of wax for the top anchorages of one tower.
Here you can see the heating coils that have been working overtime since
yesterday in order to convert solid wax into liquid wax.

Left is a view of cold wax while on the right is hot wax, ready for pumping


Here is the pump for passing the wax to the cable-stay stations below.
The delivery hose is 155 feet long and imagine what happens when there is
an internal block. Makes keeping coronary arteries clean seem pretty simple.
But for homework, think about how to finish each day - primarily flushing
the delivery tube so that when it cools, there is no wax inside to create
an obstacle.

Here the bundle of strands is capped.
The copper pipe at the top allows displaced air from inside
the cap to escape. The lower snap-on connection is for attaching the
wax delivery pipe. Crescencio is patiently waiting for the wax to start flowing.
Prior to injecting the wax, the stuffing box for each anchorage is closed
in order to prevent any leakage into the stay pipe.

and so we wait while approximately 100 L (depending on the number of
strands in the cable) of wax is delivered.

When all is finished, the air pipe and injection point are removed and
capped.

April 23, 2005
Its not all over until its over. Here is some finish work, that of
building forms for the final anchors that anchor the anchor to the deck.
As you can see, the steel fin that transfers stress from the cable anchor
assembly to the edge girder is only a couple of inches thick. To add mass to
the anchor assembly in order to further strengthen the cable anchor with
respect to lateral stresses, a reinforced concrete box is added to the assembly.
For cables close to the main pylons, there is less lateral stress than
the stress associates with cable movement of the longer cables. Hence the
further away from the pylon, the larger the stabilizing concrete support.
Initial rebar for a big anchor (left) and a small completed anchor (right)


Here is a completed form for one of the longer cables, ready for filling
with concrete

April 30, 2005
Some more finish work, that of building and pouring the anchor
supports. Note also that the bicycle-motor barrier is complete.
Completed anchor structure

Here is a initial rebar for the anchor structure, ready for
enclosure.

May 7, 2005: Installing cable dampers
These dampers absorb some of the stay pipe vibrational energy - a result
of changes in wind load or load on the span.

May 14, 2005 Continuing installation of the external dampers
North side of the west span

South side of the west span

May 14, 2005
Drilling holes to anchor the
base of the stay cable anchor support
Wilbur never ceases to susprise me. This afternoon when I visited
the bridge, Wilbur hollered at me. Walking over, I saw that today, he
was not Wilbur, the iron worker, not Wilbur the hydraulic man, not Wilbur
the forklift driver, but here was Wilbur the hole driller. I had watched
the High Steel guys drill and ream the bolt holes for coupling the
center edge girder to the east and west span edge girders. Here, Wilbur and
his coworkers were drilling holes to anchor the stay pipes. I asked how
the bolts would be stabilized in these holes - and Wilbur's answer - we
use red epoxy - so I made a photo of this also.
Here is Wilbur and one of his coworkers


Here is another coworker and Wilbur making holes
under the footing of the stay cable support.

Here is Wilbur - and a view (right) of the stay pipe stabilizer


And here is shown the red epoxy used to bond the bolts to the concrete wall
of the holes that Wilbur drilled.

May 20, 2005: External dampers finished
North side

South side

June 10, 2005: Final touches - painting the anchor assembly

Now for some of the team members
Cliff, the inside man in the pylon, works with his magic tensioning machine
while the outside team on the deck works their magic


Eduardo and Louis


Crescencio and Cliff


Philou and Nico


Oliver and Pavel


Fernando and Bruno with Nico


David and Jose' with Yolanda


A PBC guy, Philou, Yolanda, Fernando and Bruno

And another taste of the greatest guys

And a taste of Charleston: a view from the top

And a view of where I work: MUSC

And a view of the SC Aquarium and where I record my bridge data each weekend

And a taste of the bridge (February 11) from the top of the east pylon, looking west

And a better taste 6 weeks later (March 29), from the top of the east pylon.
No gap, no west tower crane - just a continuous structure.